
LED Install (Cupholders / Door Handles)


Thread Starter
Senior Member

Scikotics
SL Member
Joined: Jun 2005
Posts: 2,043
From: Broken Arrow, OK
Well, Fall Break was today and I thought I would do my first extensive mod to my car. Took me about 6 hours to complete all of these mod. I did everything very carefully. And lets start this DIY.
Things Needed:
RadioShack:
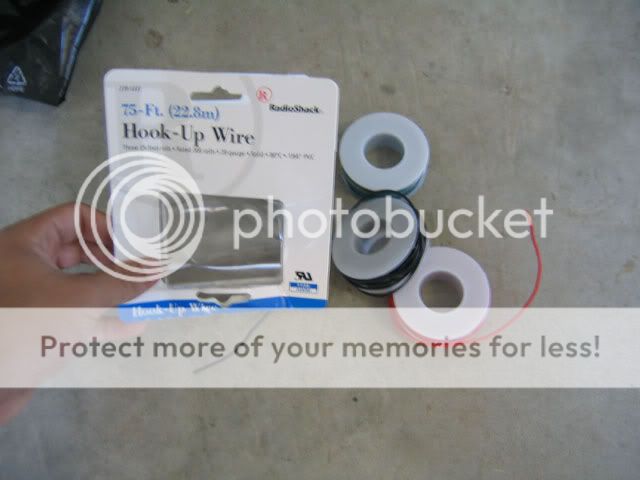
20awg Speaker Wire
Switch
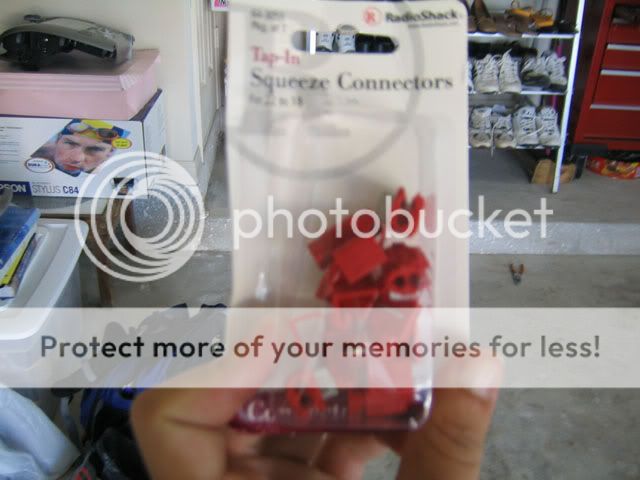
22-18awg Red Taps
Electrical Tape
Pepboys:
Redline LEDs

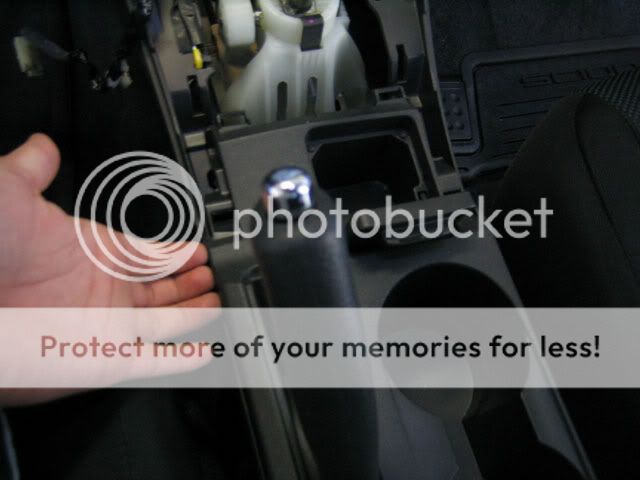
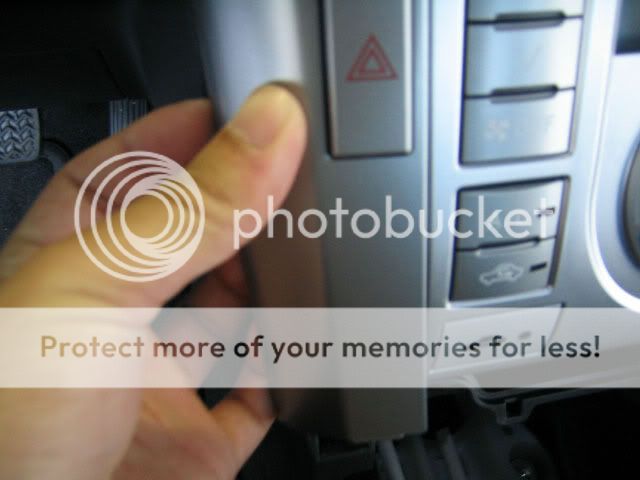
First start up by taking out the dash at these spots:
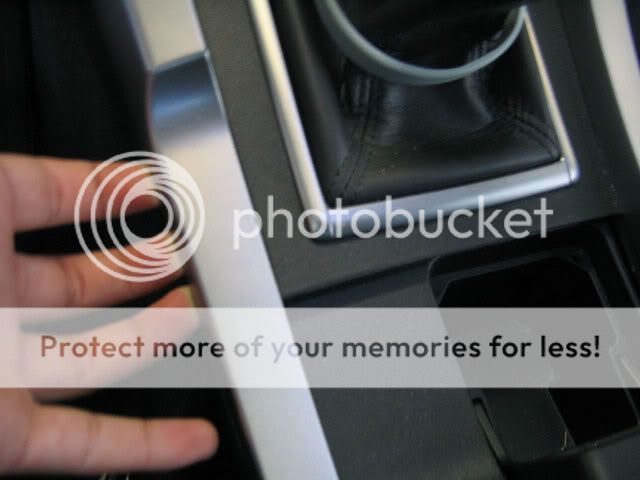

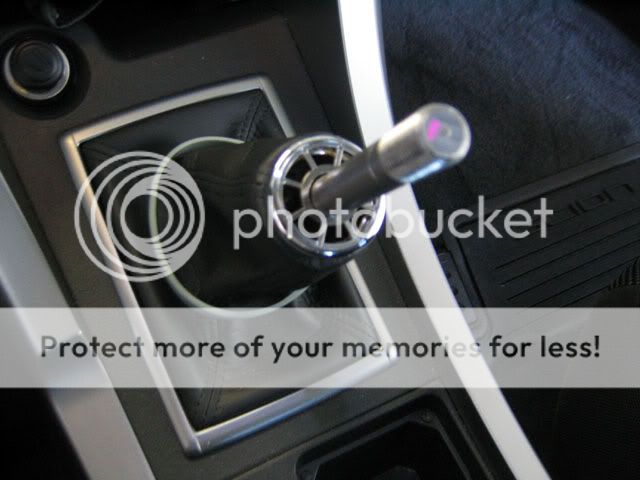
Take the shift **** off and shove it in 4th gear, once this peice is out put the **** back on so you dont scratch anything while moving around.
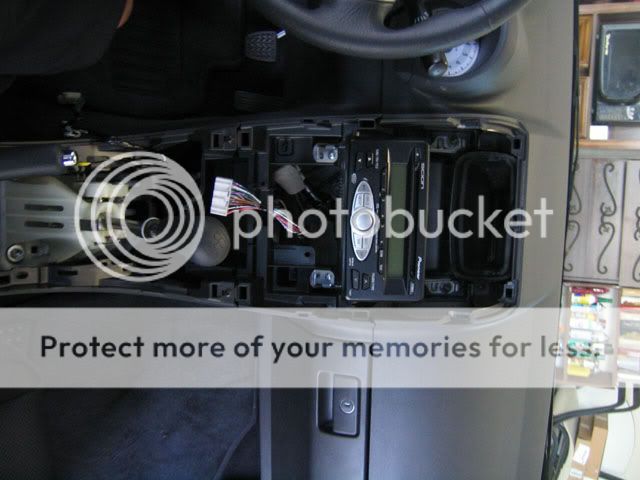
Time to take out the cup holders:
Take out the HAVOC:

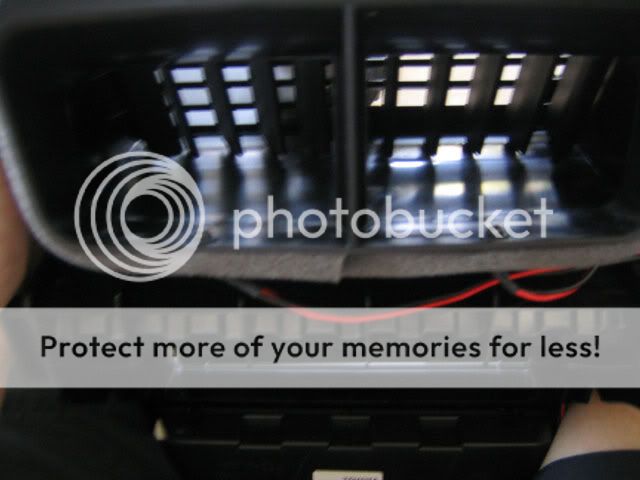
Time to drill the airvents on top of the HAVOC:
Start drilling with a small bit and gradually move up to a 1/4 bit

Put the LED holders in from the top, then slide in the LEDs from the bottem
Run about four sets wires from here:
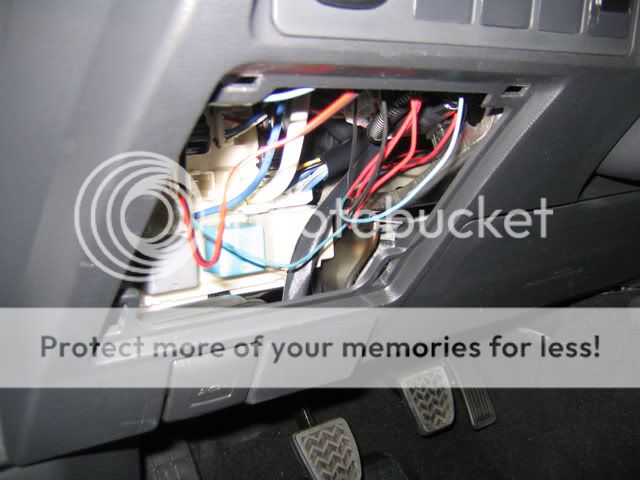
To Here, Use those wire taps too:
White is positive, Black is negitive
Next, Drill the holes into your cupholders. The left airvent is easy to get to, it is right above the square where you ran all the wires from, Just take a drill and drill upwards into the airvent. The right airvent is a bit difficult, you need to remove the glovebox and drill upwards again. Use a 3/16ths bit. Do not use the LED holders, they are not needed. To remove the glovebox just squeeze the sides in and pull it out, remember to disconnect the little arm on the right side of the box. Sorry I didn't take pictures with this, I had some friends over and forgot to take them.
Time for the door Panels:
Remove the door panels by this link: https://www.scionlife.com/forums/vie...asc&highlight=
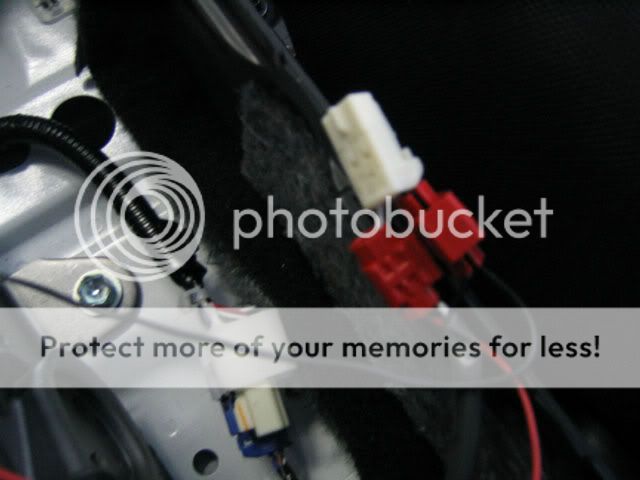
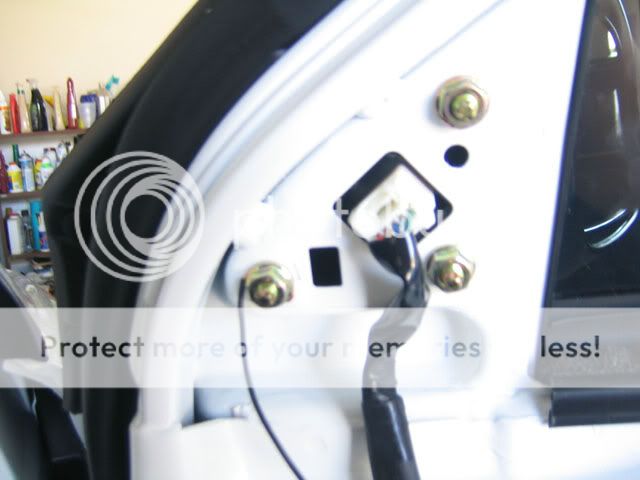
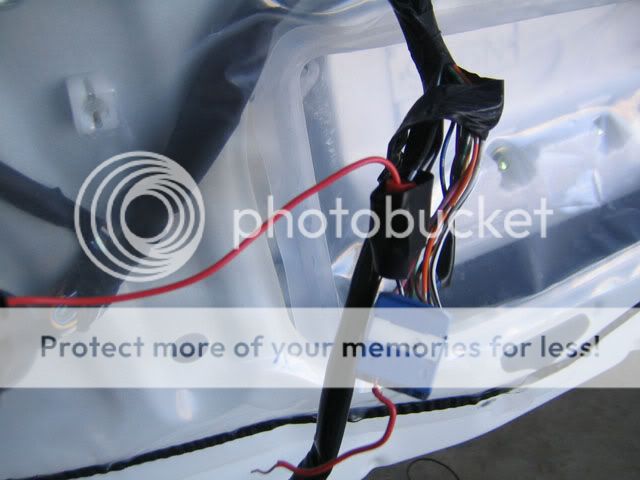
You are going to have to splice into the power windows 12v line. On the passenger side, it is a black wire in the blue tipped connector. Before using a tap, use a multimeter and check the black wire for 12v, there are two of them. You can ground the wire into this bolt.
Connector:
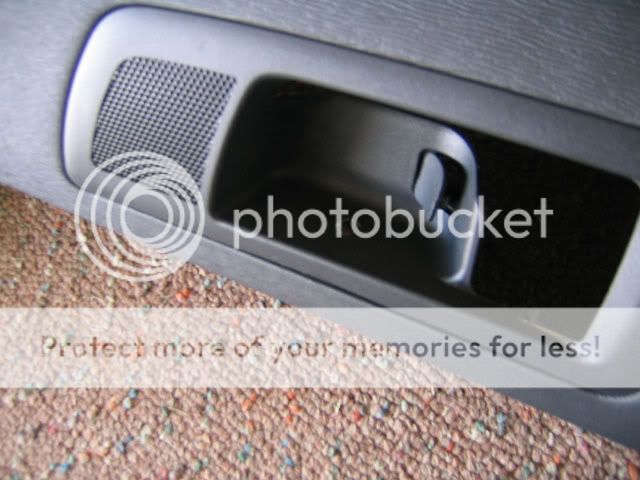
Drill into your door handle on the topside finishing with a 1/4in hole, place the LED holder in:
Repeat this on the driver side, it is competely the same other than the 12v line on the driver side is Red instead of Black, Use a multimeter again to check the red wire, there are two of them.
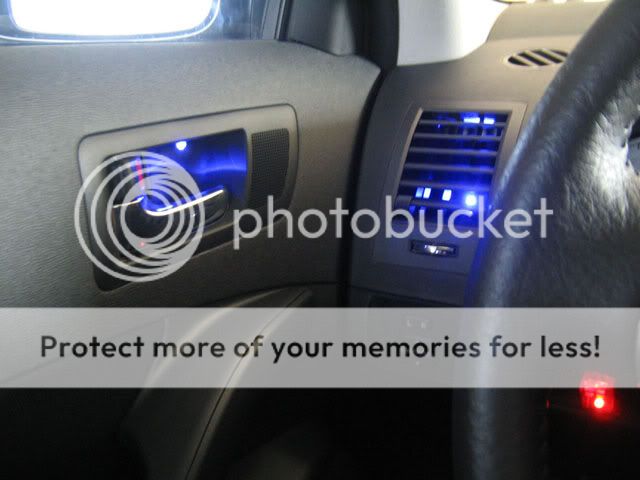
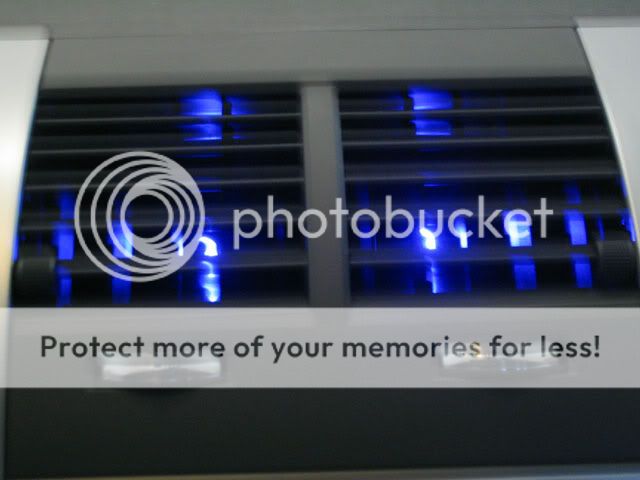
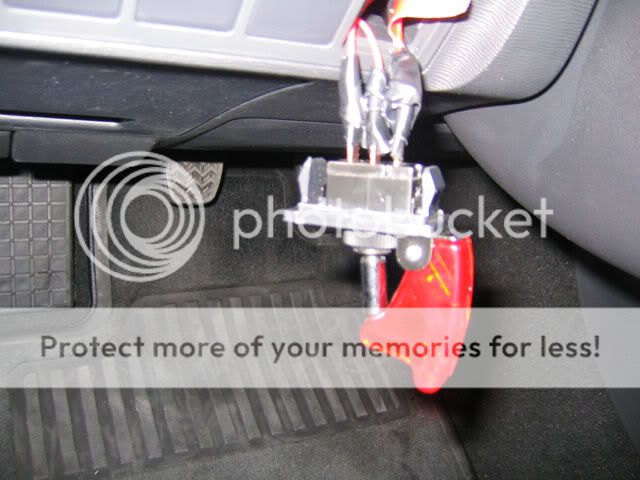
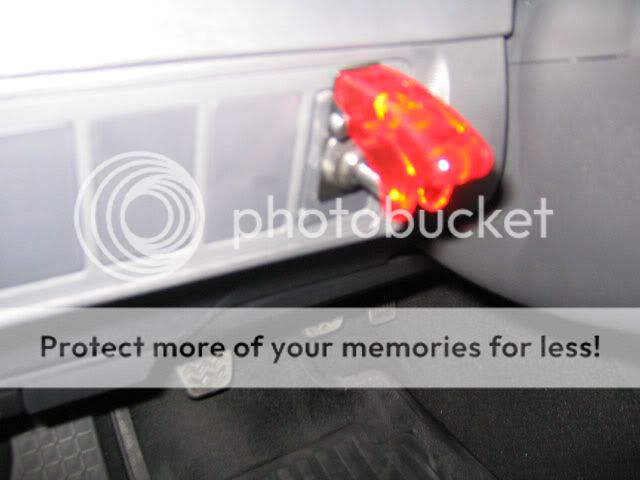
Now reinstall all your interior parts and wire up your switch. You are done! Here are some pictures of the completed project.

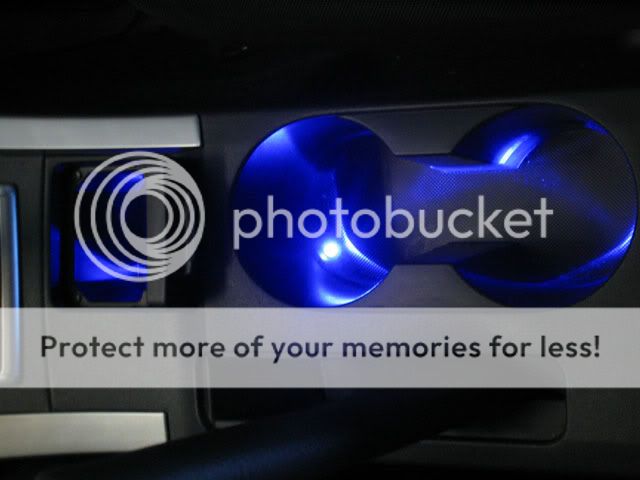
You're Welcome = )
Things Needed:
RadioShack:
20awg Speaker Wire
Switch
22-18awg Red Taps
Electrical Tape
Pepboys:
Redline LEDs
First start up by taking out the dash at these spots:
Take the shift **** off and shove it in 4th gear, once this peice is out put the **** back on so you dont scratch anything while moving around.
Time to take out the cup holders:
Take out the HAVOC:
Time to drill the airvents on top of the HAVOC:
Start drilling with a small bit and gradually move up to a 1/4 bit
Put the LED holders in from the top, then slide in the LEDs from the bottem
Run about four sets wires from here:
To Here, Use those wire taps too:
White is positive, Black is negitive
Next, Drill the holes into your cupholders. The left airvent is easy to get to, it is right above the square where you ran all the wires from, Just take a drill and drill upwards into the airvent. The right airvent is a bit difficult, you need to remove the glovebox and drill upwards again. Use a 3/16ths bit. Do not use the LED holders, they are not needed. To remove the glovebox just squeeze the sides in and pull it out, remember to disconnect the little arm on the right side of the box. Sorry I didn't take pictures with this, I had some friends over and forgot to take them.
Time for the door Panels:
Remove the door panels by this link: https://www.scionlife.com/forums/vie...asc&highlight=
You are going to have to splice into the power windows 12v line. On the passenger side, it is a black wire in the blue tipped connector. Before using a tap, use a multimeter and check the black wire for 12v, there are two of them. You can ground the wire into this bolt.
Connector:
Drill into your door handle on the topside finishing with a 1/4in hole, place the LED holder in:
Repeat this on the driver side, it is competely the same other than the 12v line on the driver side is Red instead of Black, Use a multimeter again to check the red wire, there are two of them.
Now reinstall all your interior parts and wire up your switch. You are done! Here are some pictures of the completed project.
You're Welcome = )


Senior Member
SL Member
Joined: Jan 2005
Posts: 159
From: Beaumont, CA
Okay i got couple newbie questions.
After u put the leds in places u will have 6 set of wires running to where? the cup holder ones are going to the lighter wires? (white black) can u wire 2 wires into one wire (ex. 2 red wires on the white wire and then ground them) The vents are wired to where? that open hole on the left of the steering wheel, but to what wires.
After u put the leds in places u will have 6 set of wires running to where? the cup holder ones are going to the lighter wires? (white black) can u wire 2 wires into one wire (ex. 2 red wires on the white wire and then ground them) The vents are wired to where? that open hole on the left of the steering wheel, but to what wires.
Thread Starter
Senior Member
Scikotics
SL Member
Joined: Jun 2005
Posts: 2,043
From: Broken Arrow, OK
I don't think its rice at all. This is probably as close as I will get to rice lighting wise. I can't handle neon tubes.
Zodtc
I have three sets of wires running from my switch to the center console for the 3 leds and 2 center airvents. I wired two LEDs to one line. Then i have another set of wire running from the far right vent to the switch. The left vent is also wired into the switch. I just took a main power feed line from the ACC port that goes into the center console and wired it to my switch.

Thread Starter
Senior Member
Scikotics
SL Member
Joined: Jun 2005
Posts: 2,043
From: Broken Arrow, OK
Originally Posted by gjpjr84
How about trying to light the back seat cupholder/cubby section with some LEDs?????
As for the switch, theres a main feed line that goes in, and an ACC line out. I just grouped all my positives together and put it on the ACC line out. As for the main feed ground, i just grouped them all together and put it on the ground terminal on the switch.
Here are some pics i just took.


Senior Member


SoCal tC Club
SL Member
Team N.V.S.
Scinergy
Scion Evolution
Joined: Oct 2004
Posts: 15,699
Originally Posted by Batjew
hellllllooooo RICE .......
btw, nice write up.

Thread Starter
Senior Member
Scikotics
SL Member
Joined: Jun 2005
Posts: 2,043
From: Broken Arrow, OK
Originally Posted by SquallLHeart
Originally Posted by Batjew
hellllllooooo RICE .......
btw, nice write up.


Member
SL Member
Joined: Mar 2005
Posts: 75
From: Long Beach, CA
Nice work man! I know how much time something like that took.
I have one suggestion however, Try hideing the source of the light that way it looks like a factory glow.
Nice job.
p.s. try some leds in the compartment in the doors for a glowing compartment look.
I have one suggestion however, Try hideing the source of the light that way it looks like a factory glow.
Nice job.
p.s. try some leds in the compartment in the doors for a glowing compartment look.
Thread Starter
Senior Member
Scikotics
SL Member
Joined: Jun 2005
Posts: 2,043
From: Broken Arrow, OK
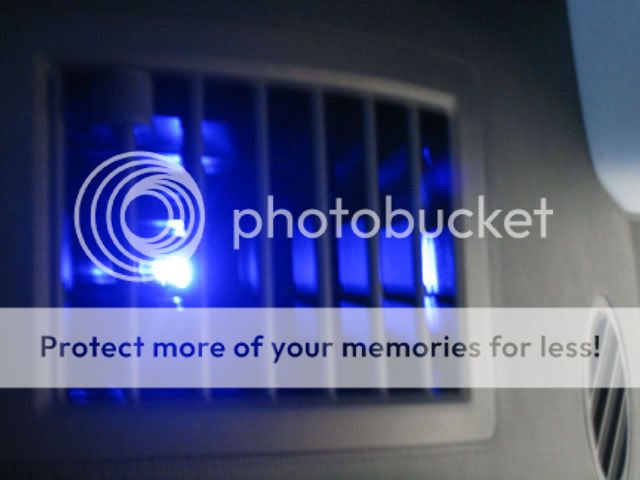
I just tried to take some pictures but they dont show how good the LED really are. The pictures are crappy. Theres no glare luckily. Passenger has huge glare where the change cubby with the cover is in the middle console. The glare can be solved by just placing a clicker into it, or just closing the cover.
Senior Member
SL Member
Scion Evolution
Joined: Oct 2004
Posts: 104
From: Jacksonville, FL
excellent writeup. only thing that kinda urks me is i think the led in the door handle shouldve been mounted on the bottom under the door lever. its still hot either way.. hehe. like i said.. great DIY
Thread Starter
Senior Member
Scikotics
SL Member
Joined: Jun 2005
Posts: 2,043
From: Broken Arrow, OK
Originally Posted by defbrett
Nice work man! I know how much time something like that took.
I have one suggestion however, Try hideing the source of the light that way it looks like a factory glow.
Nice job.
p.s. try some leds in the compartment in the doors for a glowing compartment look.
I have one suggestion however, Try hideing the source of the light that way it looks like a factory glow.
Nice job.
p.s. try some leds in the compartment in the doors for a glowing compartment look.