


A/C Control Color Change


Senior Member


SL Member
Joined: Jun 2005
Posts: 232
From: Greenville, SC

yeah i just put in the led neo wedge and i looks just like my soldered version just like yigs said. hopefully it will look better at night but i dont think it will. are these the ones you used yigs?

they are about half way down and 1.49 a piece?
anyways, thanks for all the help!
they are about half way down and 1.49 a piece?
anyways, thanks for all the help!


Senior Member
SL Member
Joined: Nov 2005
Posts: 240
From: Salem, OR
Originally Posted by emfomas
yeah i just put in the led neo wedge and i looks just like my soldered version just like yigs said. hopefully it will look better at night but i dont think it will. are these the ones you used yigs?
they are about half way down and 1.49 a piece?
anyways, thanks for all the help!
they are about half way down and 1.49 a piece?
anyways, thanks for all the help!

edit: I bought a couple of the blue LED ones this time, we'll see how the color turns out on those.

Senior Member
SL Member
Joined: Jun 2005
Posts: 232
From: Greenville, SC
i had the same problem as my soldered in leds with faded out edges but i think other people have had a bit more luck. i sanded down the leds so the edges look a little better. im going to try the bulbs maybe, or even the white leds.
Senior Member
SL Member
Joined: Nov 2005
Posts: 240
From: Salem, OR
Originally Posted by Alchemist80
so how did the led version of this bulb turn out....the $2.99 one? Anyone have pics? No resister soldering is required correct?
I also put a pair of those white 5 LED wedge matrix in for my rear plates and those also look very good, much better than my old stock bulbs so I would recommend getting a set of those as well.

Member
SL Member
Joined: Dec 2006
Posts: 49
Ok here is the differences between the bulbs and the leds in an 06 XA:
Do not take the cream this off TRUST ME I'll tell you in a bit why.....
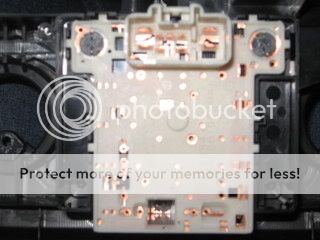
These are the bulbs:
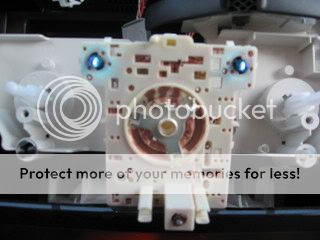

These are the LEDS
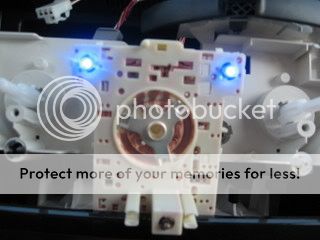

Huge difference but still the edges are dim.... anyways back to major mess up!!!
I pulled out the cream part and either I lost something or messed something up but my AC doesn;t work right. There is no contact with the copper and the middle 3 spoke thing in the pictures...I put a washer there and it makes contact but it's not right...any help in this situation would be appreceated.
Do not take the cream this off TRUST ME I'll tell you in a bit why.....
These are the bulbs:
These are the LEDS
Huge difference but still the edges are dim.... anyways back to major mess up!!!
I pulled out the cream part and either I lost something or messed something up but my AC doesn;t work right. There is no contact with the copper and the middle 3 spoke thing in the pictures...I put a washer there and it makes contact but it's not right...any help in this situation would be appreceated.

Senior Member
SL Member
Joined: Dec 2006
Posts: 1,501
From: Irvine, Ca.
Hey buddy! Ok, I started to think of how to do this myself, and took the two outer ***** off, but couldn't get the middle **** off...it seriously wouldn't budge. Do I have to take the middle **** off, or is it ok where it is??? Thanks for your help.....oh, and I'm doing green too most likely!! It will match the theme that I am starting!
~Stephanie
~Stephanie
Senior Member
SL Member
Joined: Nov 2005
Posts: 240
From: Salem, OR
Rey I bet you made the mistake of losing the little ball baring that is behind that center ****, well not behind the **** itself but when you detached the white part from the assembly you probably dropped the baring somewhere.
If it's not the baring look for a little tab that sticks out from the assembly. That has to go back in one of those little holes on the center **** assembly so that when you put it all back together when you turn the **** it will "click" to each setting.
I don't know, kind of hard to explain when you don't know the exact terms.
The good news for other people is that you don't have to detach the white part from the assembly and risk losing the ball baring just to replace your bulbs.
And the middle **** does come off just as easy as the other two, just make sure you pull straight out, jiggle it a little if you have to. Make sure to remove the two screws in front that were behind the outer *****.
If it's not the baring look for a little tab that sticks out from the assembly. That has to go back in one of those little holes on the center **** assembly so that when you put it all back together when you turn the **** it will "click" to each setting.
I don't know, kind of hard to explain when you don't know the exact terms.
The good news for other people is that you don't have to detach the white part from the assembly and risk losing the ball baring just to replace your bulbs.
And the middle **** does come off just as easy as the other two, just make sure you pull straight out, jiggle it a little if you have to. Make sure to remove the two screws in front that were behind the outer *****.
Senior Member
SL Member
Joined: Dec 2006
Posts: 1,501
From: Irvine, Ca.
I tried to take out the middle one out once again, and it is welded in place or something! It will not move! It turns, but won't pop out. I jiggled, I twisted, I pried!!! Maybe my hands aren't strong enough. That happens some times...  I will ask a big man to try it.....and watch, he will get it on the first try! Figures!! haha!!
~Stephanie
It will not move! It turns, but won't pop out. I jiggled, I twisted, I pried!!! Maybe my hands aren't strong enough. That happens some times... I will ask a big man to try it.....and watch, he will get it on the first try! Figures!! haha!!~Stephanie


Member
SL Member
Joined: Dec 2006
Posts: 71
went to pep boys and got the light "condoms". it was really dim and it looks like one of my bulbs is dimmer than the other so i went ahead and ordered the neo-wedge leds. i got super white. ill post a picture with my results. great write up and mod.
Member
SL Member
Joined: Dec 2006
Posts: 71
Originally Posted by biancoxb
it has probably been said sorry, but what is the bulb size from superbright leds in pure white for the HVAC , and is it simple swap?
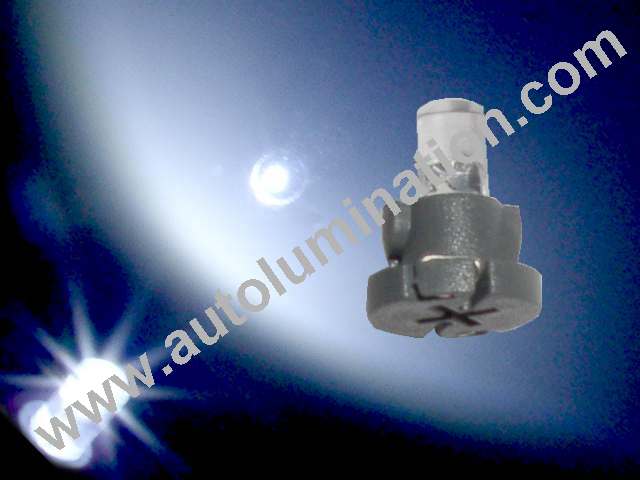
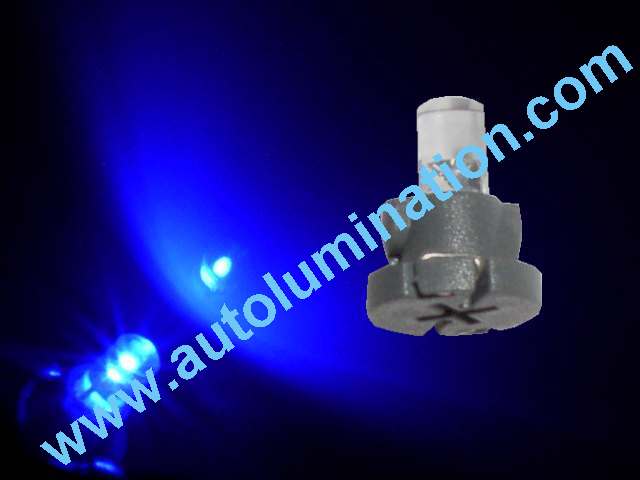
the neo-wedge leds. 2.99 each. just put them where the stock lights are.
http://www.autolumination.com/74.htm