When you click on links to various merchants on this site and make a purchase, this can result in this site earning a commission. Affiliate programs and affiliations include, but are not limited to, the eBay Partner Network.
That really sucks I hope it works out for you. I didn't know the front mount was so hard to come by.
Yuuup, Torque Solutions apparently took 2 years to sell 50 of them, so yesterday they told me flat out they're not making them anymore. So I guess there's only 50 out there. I'm likely going to pick up another stock unit as they're only $60 and do some measurements and see if I can adapt some bushings from another application to fit, and if not, then just fill it with urethane and call it a day.
Wow had no Idea I guess I got lucky when I bought mine. Would love to see how it comes out for you
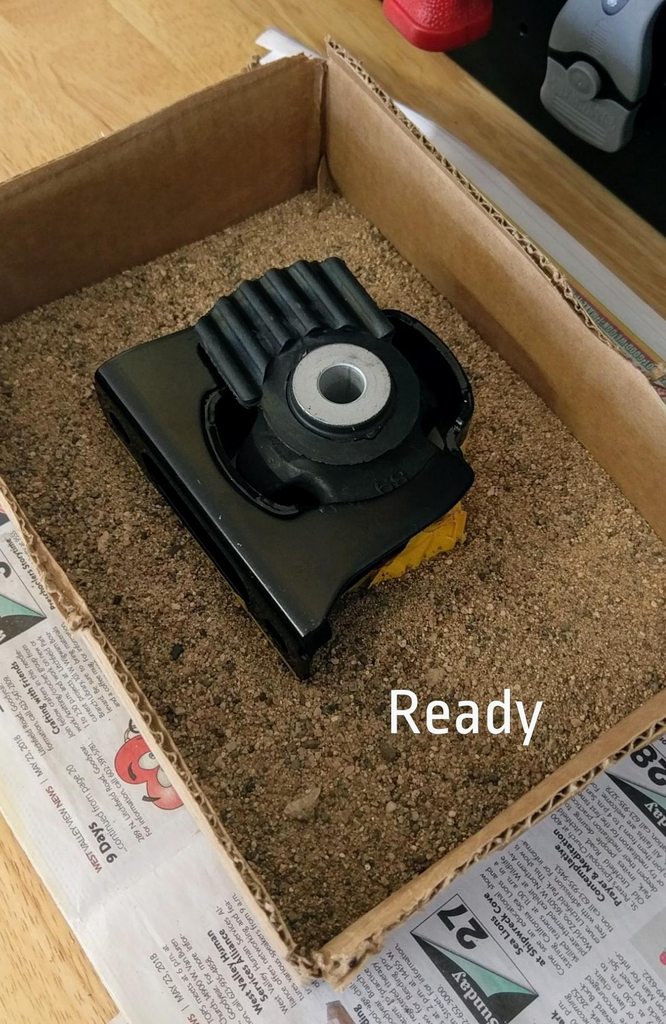
Aaaaand mount payment refunded again. So new OEM mount and Energy Suspension 60A urethane DIY kit ordered. No local companies are interested in making a mount, so if the 60A isn't stiff enough I can always fill my existing one with 80A and see how that does. Parts are coming from Cali and Colorado, so we'll see if I can get them in soon enough for a weekend project.
Could you send the link of the roof rails you bought?
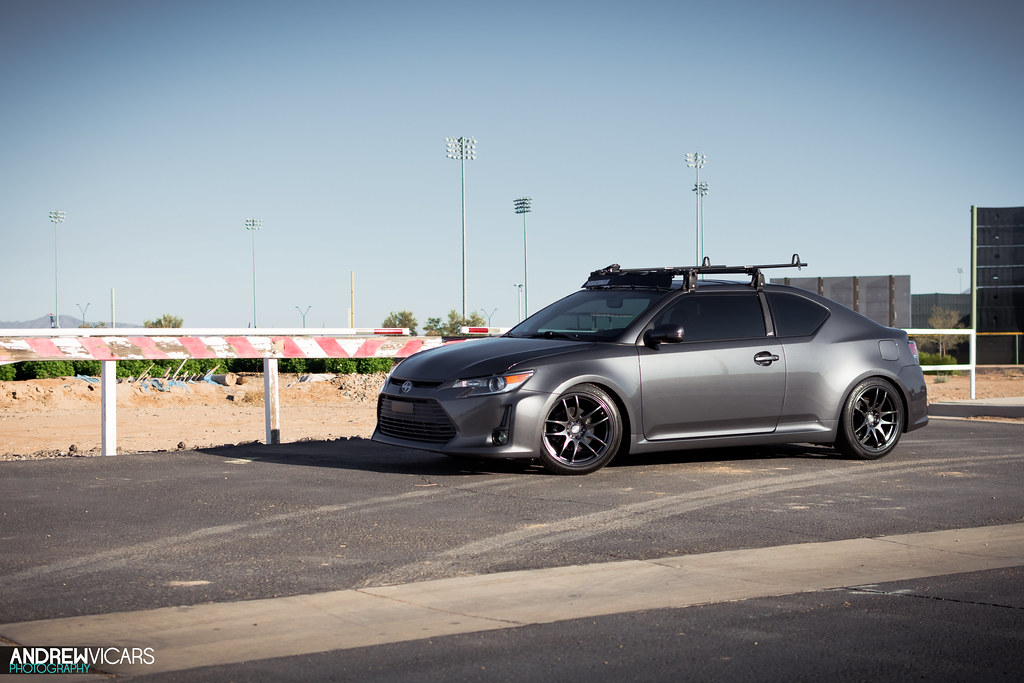
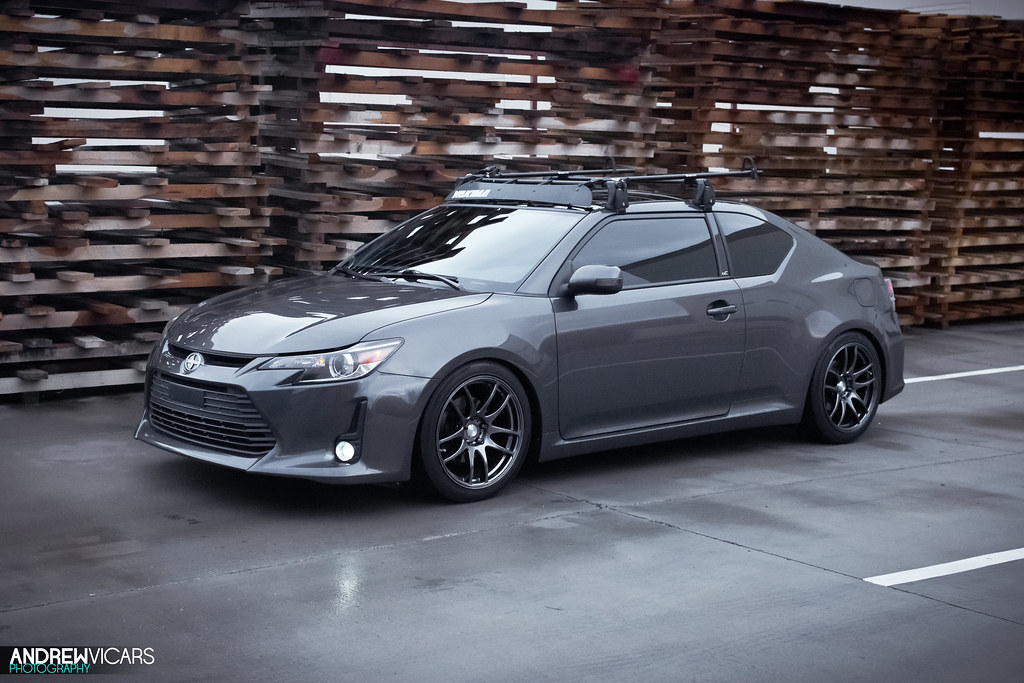
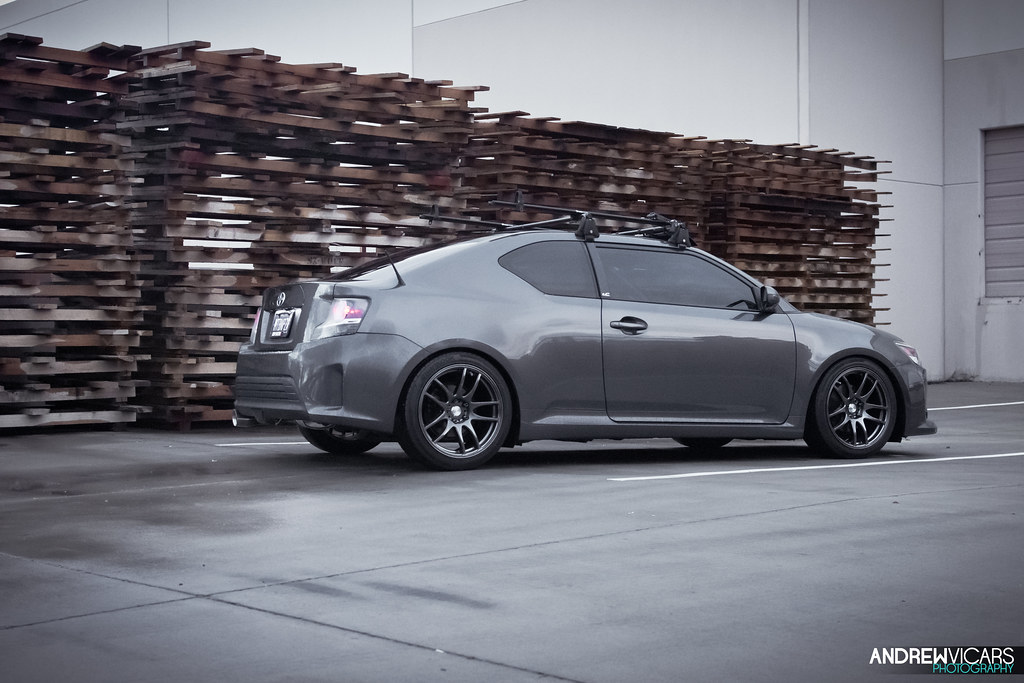
I have a Mag Grey tC as well.
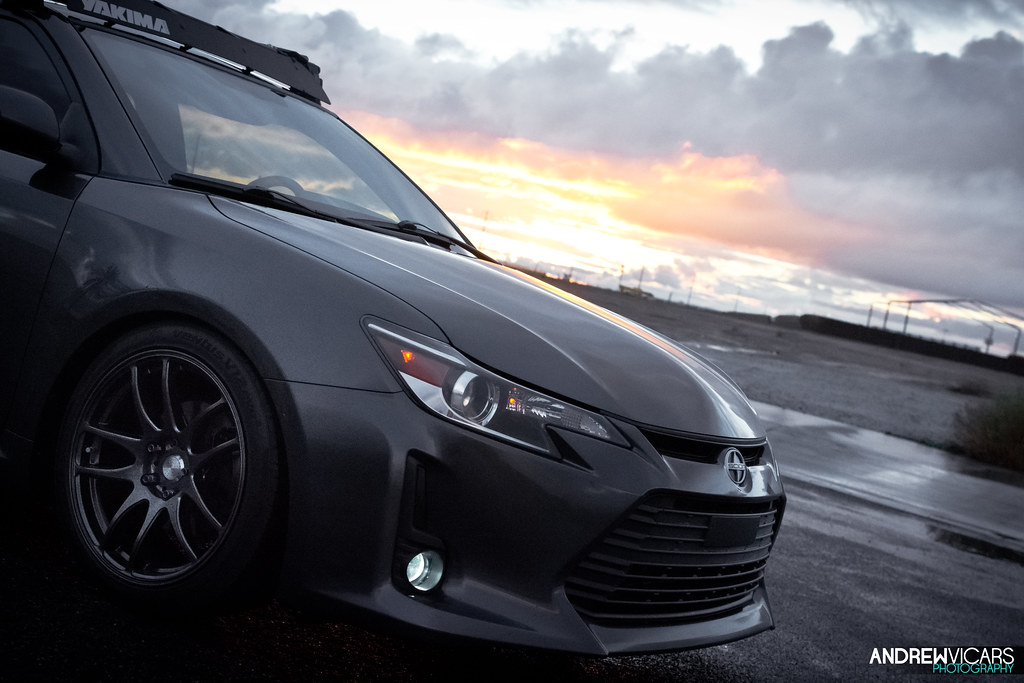
I got the rack many years ago. Just a basic Yakima Q-Tower system. They have a fit-your-car section and install instructions on their website. If you want to retain full use of the sun roof, follow their instructions. I think racks look silly with towers that are too close though, so I pushed the rear towers as far back as they could go (about 4" further back than per the instructions). I don't ever open my sun roof more than just cracking it for heat and further spaced mounts help the bike mounts be more secure up there so it's a non-issue to me, but if you try to open it with it back this far the glass will hit the crossbars.
Nice mount hope it works just as good as the torque solutions one.
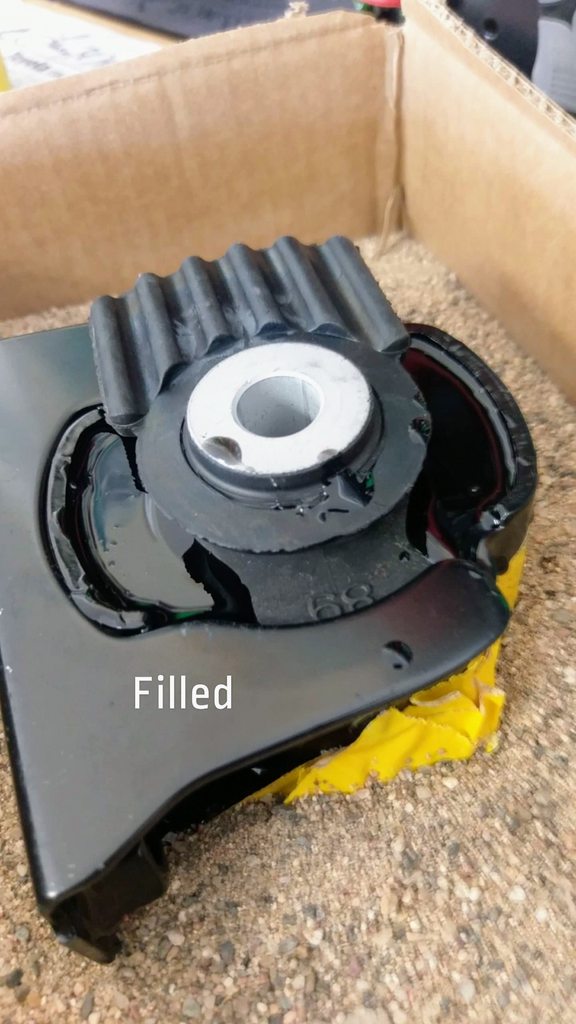
I'm hoping so. Should be noticeably stiffer but not quite as extreme as the TS. Cleaned up all the extra urethane and duct tape residue and for my first time doing a mount/inserts I think it came out great. Takes a few days to fully cure per the instructions, but already the center isn't moving at all, so I'm getting pretty excited for it. Will probably throw it on Sunday just to be safe.
After letting it cure for 5 days in our 100+ degree temps, I threw the mount in yesterday. So far it feels like a smashing success and makes driving the car so much better all around. The car as a cool racecar start-up rumble now, up and down shifts are a lot crisper (esp the 1-2 shift), throttle response is improved, and the whole car feels more solid. It's not too stiff, and after it breaks in I'm sure it will pretty much go unnoticed.
FWIW I'm still looking for a more legit mount option. Doing some cross-vehicle experimentation rn, just couldn't handle driving with the stock mount anymore so had to do something and this is what I came up with. Even if it doesn't hold up forever, I feel much better knowing this is a better alternative to window weld. And when you're doing testing on a mount, it helps to have one out of the car. Stay tuned for updates.
So the mount has been holding up well, feels pretty broken in my now. I still notice a little more vibration idle but it's calmed down from when I first installed at so it's no longer harsh. I'm actually debating filling my other mount with the 80A urethane. With this broken in though, I'm still feeling all of the benefits of the filled mount and recommend it to anyone thinking about it.
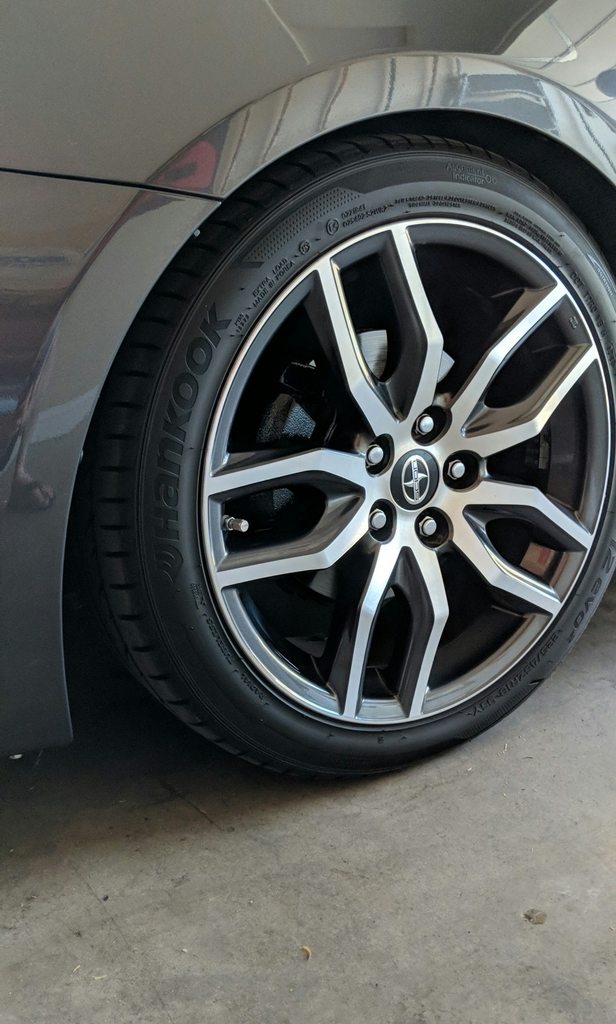
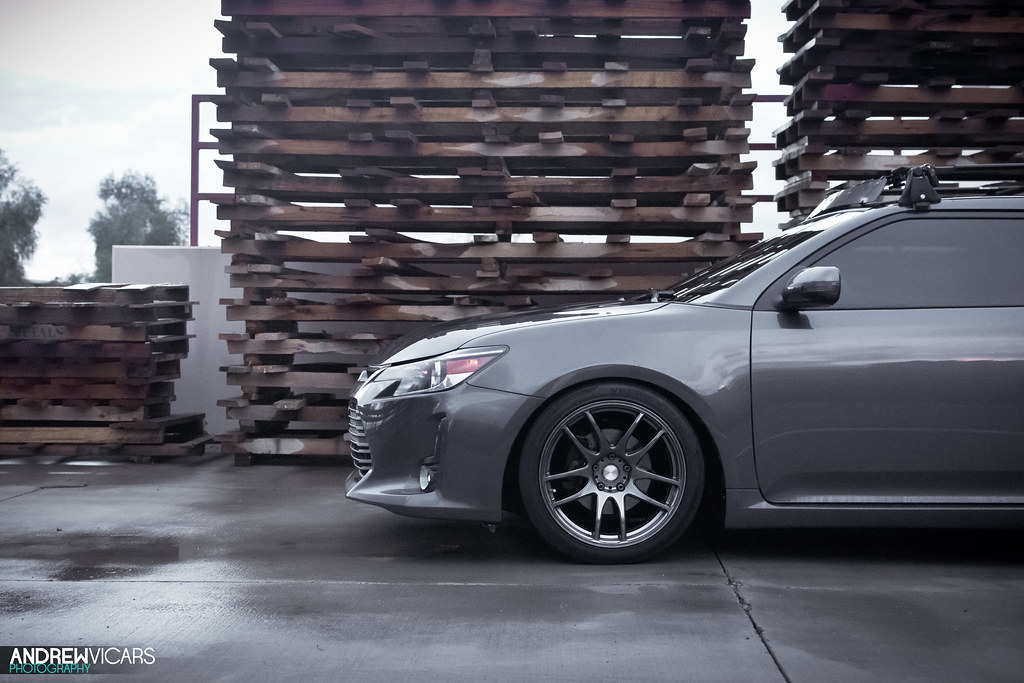
In other news, I bought wheels.. and then were told they were out of stock (of course) and since I was keen on spending money this month I contacted Chris over @ Dezod and he had 1 tC2 green header in stock so...
Planning to install Saturday as that's the first time I'll have a cold engine to work on. Also ordered the DC Sports front strut bar which should be in later today. Already trimmed the cowling so I should be good to go when it shows up for a quick install.
Strut bar installed last night. I'm so used to mods not doing much on my last car that I'm always amazed when I can actually immediately feel a difference with bolt-on on this car. I can now see why TRD thought the car could use a bar. I didn't realize how vague the steering was before popping this on. Now I can actually feel what the front tires are doing, and the car seems to be diving significantly less in tight corners. Very happy I decided to grab one. Next up, header :D
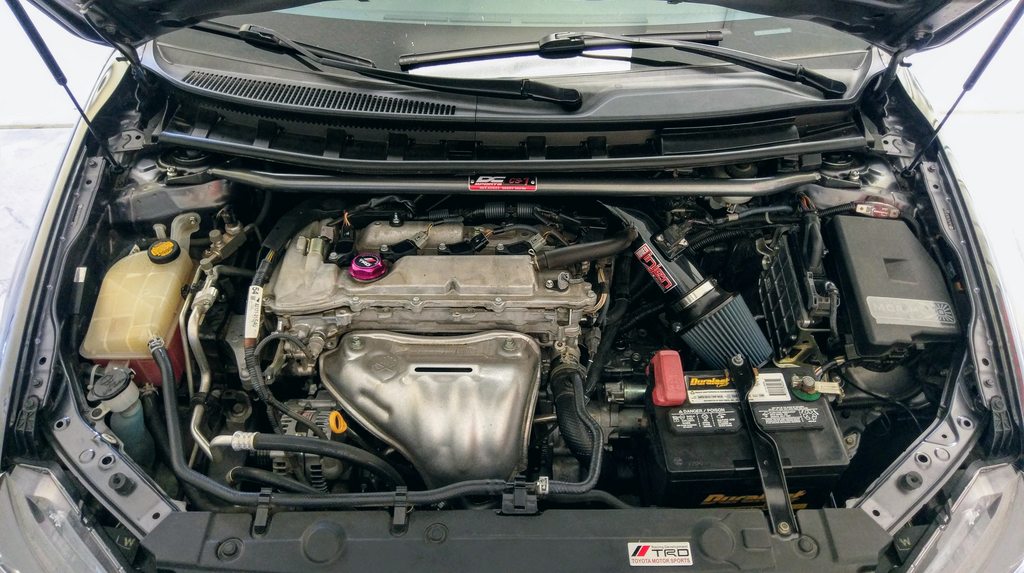
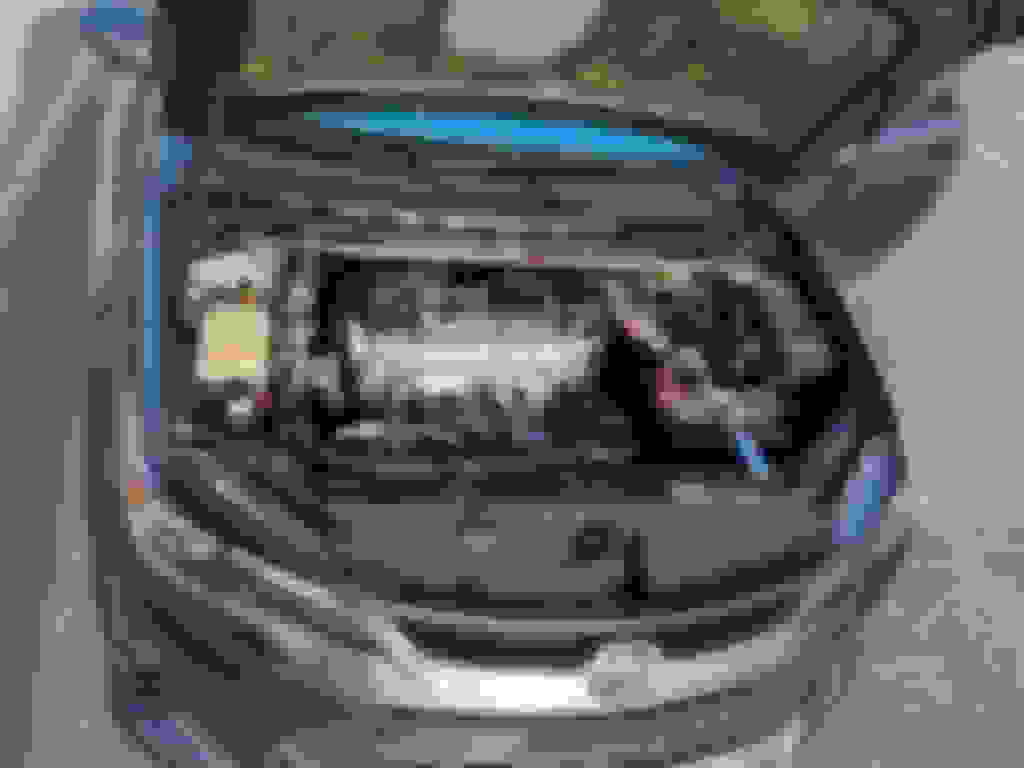
So was hoping I could post about how awesome the header was.. but I couldn't install it this weekend due to Dezod forgetting to include the necessary hardware and the donut gasket that goes between the header and the s-pipe. But since I was bored and set aside time to work on the car, I went looking for things I could do to make the engine bay look better. Toyota decided to leave a lot of exposed wire unwrapped without any type of loom or electrical tape so I wrapped all of that to keep exposed wires to a minimum. Then rerouted the wires my fog kit uses as I learned out there's a really clean way to route them 100% hidden above the radiator. Like little cutouts in the top of the surrounds just for this purpose. Then I removed the leftover hardware used to support the prop rod. Definitely looks a lot cleaner. Also ordered a pretty billet battery tie down. Will update with a new pic once the new parts are in.
So been 2 weeks and still haven't seen any hardware or the gasket for the header. I couldn't wait any longer. It's torture for me not to install new parts immediately. So Tuesday night I went over to Autozone and tested out different gaskets for over an hour from probably 35 different cars until I found one that fit. Ended up finding one from a 1950's Chevrolet that fit pretty freaking good.
And finally... I have a header and a proper looking engine bay!
As you guys know I had to do a break-in process for the cat yesterday before I could really drive it so haven't gone anywhere but to work in it yet this morning. Thoughts so far are the car felt a lotttt smoother and a little peppier, but I haven't really pushed it yet. Want to give the fibers in the cat a little more time to expand before I go redlining around. But at least the car now actually has an idle exhaust sound and a some noise coming out of the rear. No rasp at all and no drone (no doubt all my sound deadening helps here). I don't think I'll be disappointed with this once I push it. Very excited to have the header off the garage floor!
Received my parts from the powder coater last night and they came out GREAT! Had the valve cover, strut bar and intake done in a custom in-shop Prismatic Powders color and cleared with Cerakote. The color match to the car is nearly spot on to the Magnetic Gray, but with some hints of yellow and blue depending on how the light hits it. Super cool!
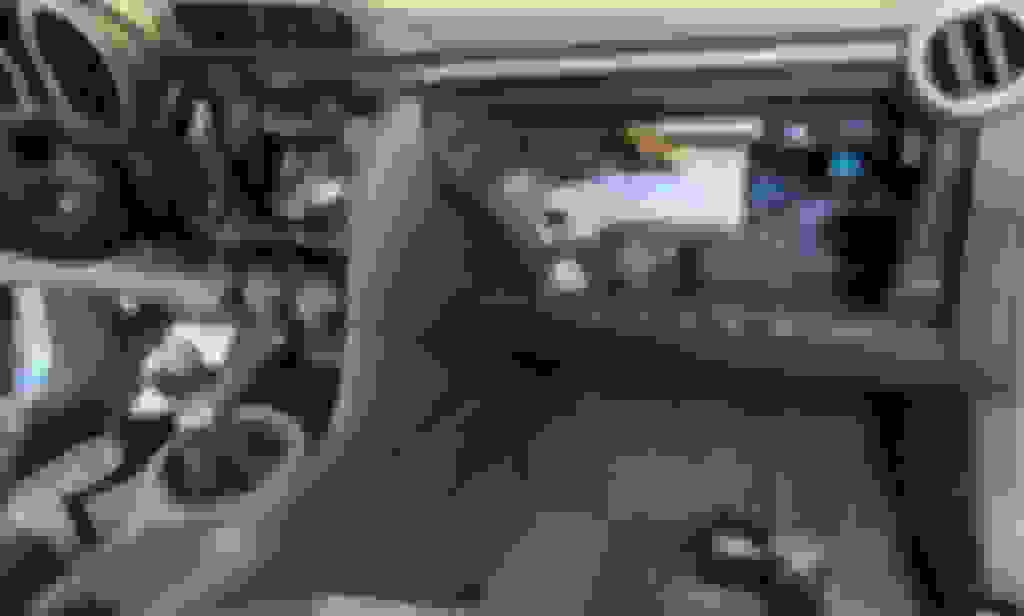
I've already upgraded the rest of the system in spirit of trying to keep the slick OEM touch screen radio for as long as possible, but being an audiophile I've always wanted more control over the factory options. And really needed 3 sets of preouts for my amps.
Enter Pioneer AVH-1440NEX with the iDatalink Maestro module. It (almost) fully integrates the factory controls and OEM harnesses and connects to ODB2 to display tire pressures, cel's and a number of gauges unique to the car. Pretty rad so far. Happy to have a volt meter, coolant temp and fuel distance to empty gauges. I did have to splice the factory wiring to retain the functionality of the backup camera, but that was a quick fix once I figured out that it didn't tie into the Datalink system. Anyways, some pics:
Rainy day in Phoenix thanks to Hurricane Rosa, so went out and took some hurricane pics lol. Forgot I had the camera set to a stupid high ISO so they're a little noisier than I'd prefer, but the shoot was still cool.
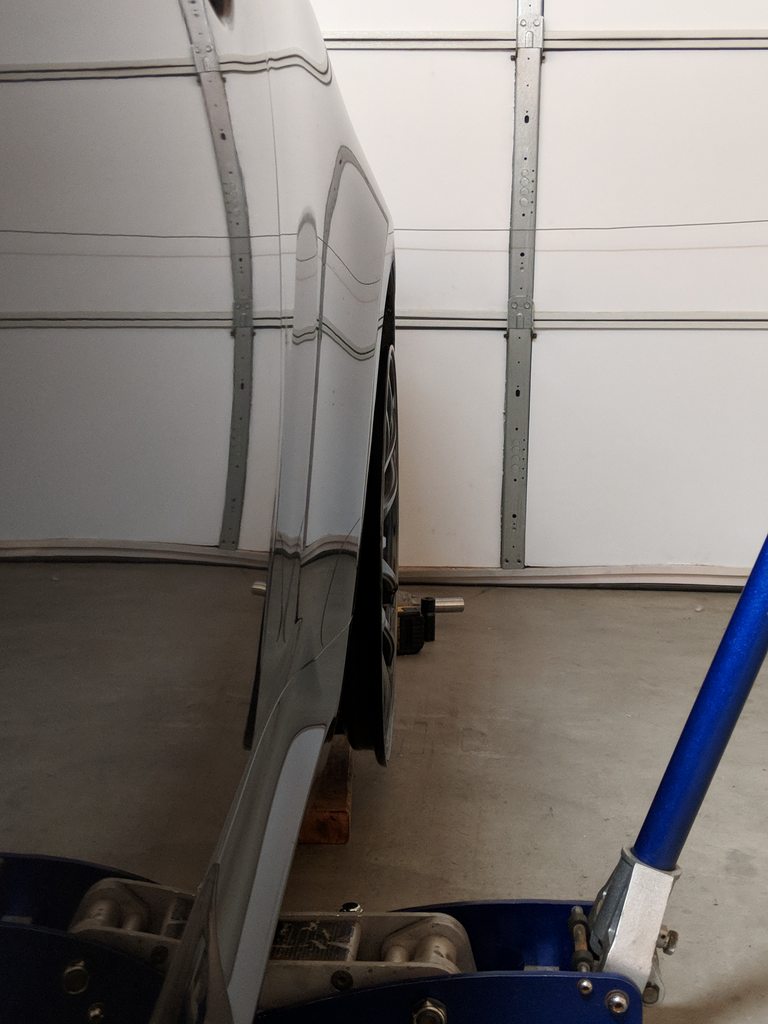
Also ordered some H&R extended wheel studs so I can space these wheels a bit to dial in the fitment.